There’s nothing quite like the satisfaction of tackling a home renovation project with your own two hands. In this guide, we’re going to help you sharpen your saw skills so you can tackle those cutting tasks like a pro. Get ready to level up your DIY game and make Ron Swanson proud!
Essential Tools for Saw Mastery
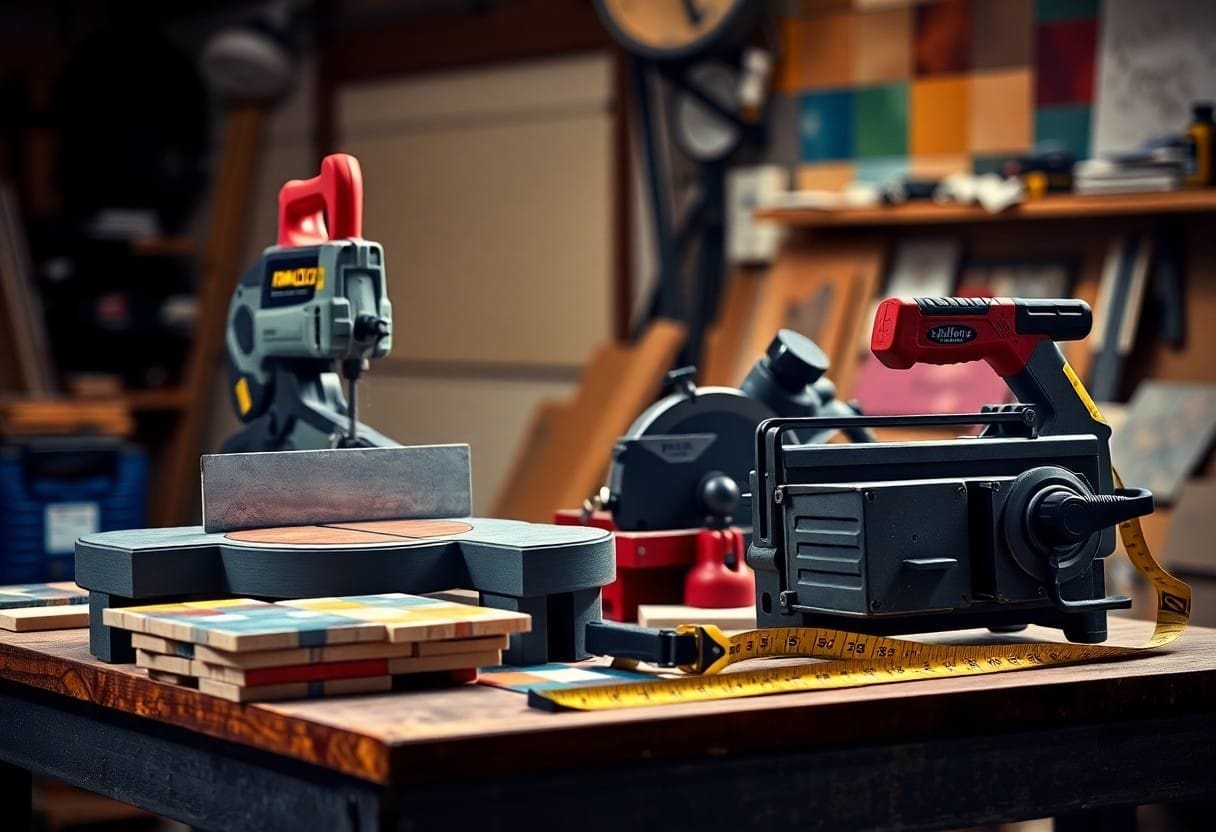
While begining on your journey towards saw mastery for your home renovations, it’s important to have the right tools at your disposal. Having the appropriate equipment can make all the difference in the quality and efficiency of your work. In the matter of saws, choosing the right one for the job is crucial.
Choosing the Right Saw for the Job
Essential to mastering your saw skills is selecting the correct saw for the task at hand. Different types of saws, such as circular saws, miter saws, or hand saws, are designed for specific purposes. Consider the materials you will be cutting, the accuracy required, and the scale of the project when deciding on the appropriate saw. By choosing the right tool, you’ll not only improve the quality of your work but also enhance your overall efficiency.
Saw Maintenance 101: Cleaning and Lubricating
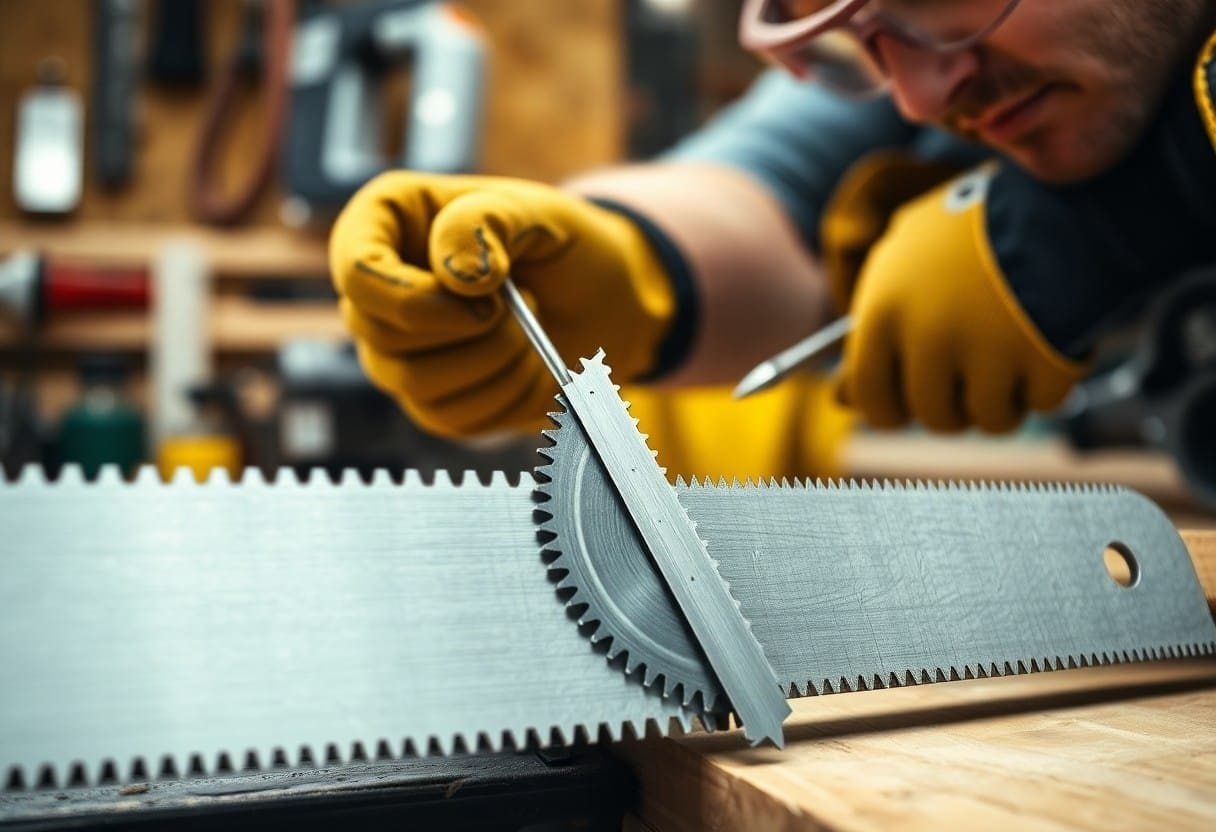
For saw mastery, it’s crucial to understand the importance of proper maintenance, particularly in cleaning and lubricating your saw. Regular cleaning of your saw blade and components helps prevent buildup that can affect its performance. Lubricating moving parts, such as the blade or adjustment mechanisms, ensures smooth operation and prolongs the life of your saw.
Mastery of your saw skills extends beyond just knowing how to cut. By properly maintaining your saw, you’ll extend its lifespan, improve its performance, and ensure that it’s always ready for your next DIY project. Note, a well-cared-for saw is a reliable partner in your home renovations.
Mastering Basic Saw Cuts
Rip Cuts: Cutting with the Grain
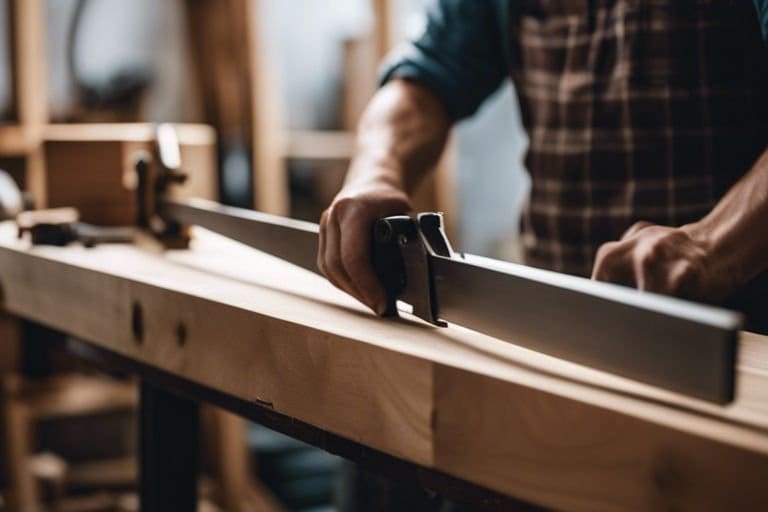
If you want to master the art of making rip cuts, you should start by understanding the direction of the wood grain. When making a rip cut, you are cutting along the length of the grain. This type of cut is perfect for when you need to trim the width of a board or create long, straight cuts. Remember to mark your cutting line accurately before starting to ensure precision. Make sure to use a rip blade on your saw for optimal results.
Cross-Cuts: Cutting Against the Grain
To master cross-cuts, where you cut across the wood grain, you need to adjust your saw blade accordingly. Cross-cuts are handy for making shorter, precise cuts and for cutting boards to their desired length. Always measure twice and cut once to avoid mistakes. Additionally, use a cross-cut blade on your saw to make clean and smooth cuts against the grain.
When making cross-cuts, you should pay attention to the wood grain’s direction to achieve clean and accurate cuts. Cutting against the grain can sometimes cause tear-out, so it’s necessary to support the wood properly and use a sharp blade. Be mindful of, practice makes perfect, so don’t get discouraged if your first few attempts aren’t flawless.
Miter Cuts: Angled Cuts for Perfect Joints
CrossCuts In terms of miter cuts, precision is key for achieving seamless joints and professional-looking finishes. Miter cuts involve cutting wood at an angle other than 90 degrees, typically at 45 degrees for creating corners or frames. Using a miter saw with a fine-tooth blade will help you achieve crisp and precise angled cuts.
Cutting angles can be tricky, so take your time to set up the saw correctly and double-check your measurements before making the cut. Miter cuts are common in projects like molding, picture frames, and trim work, so mastering this skill will elevate the quality of your woodworking projects.
Advanced Saw Techniques
Despite being proficient in basic sawing techniques, there are advanced methods that can take your woodworking skills to the next level. Here are some advanced saw techniques that will help you elevate your DIY projects:
- Bevel Cuts: Creating Angled Edges
| Angled Cuts | By adjusting the bevel angle of your saw, you can create angled edges on your wood pieces. This technique is often used for making decorative edges or for joining pieces at different angles. |
- Dado Cuts: Grooves for Shelves and Cabinets
| For Dado Cuts | For creating grooves in wood to fit shelves or panels, dado cuts are crucial. This technique requires precision and can be achieved using a table saw or a dado blade on a circular saw. |
Cuts with dado blades are commonly used in cabinetry and shelving projects. They provide a strong and seamless way to insert panels or shelves into furniture pieces.
- Coping Cuts: Curved Cuts for Custom Fittings
| Grooves | With coping cuts, you can create intricate curved cuts that are perfect for custom fittings like molding or trim pieces. This technique is ideal for achieving a seamless and professional finish on your woodworking projects. |
With coping cuts, you can add a touch of elegance to your woodworking projects by creating custom fittings that perfectly match the design of your space. This technique requires practice and precision, but the results are worth the effort.
Safety First: Protecting Yourself and Others
Personal Protective Equipment (PPE): The Essentials
Keep yourself safe and protected by always wearing the important Personal Protective Equipment (PPE) when working on your DIY home renovations. This includes items such as safety goggles to shield your eyes from flying debris, ear protection to guard against loud noises, and sturdy work gloves to protect your hands from cuts and splinters. Don’t forget a dust mask to prevent inhaling sawdust and other particles that can irritate your lungs.
Saw Safety Best Practices: Avoiding Accidents
Protecting yourself and others from accidents is crucial when operating power tools like saws. Always remember to keep your workspace well-lit and free of clutter to prevent tripping hazards. When using a saw, make sure the blade guard is in place and the saw is properly adjusted and secured. Additionally, it’s important to always keep your hands and fingers away from the cutting path of the saw to avoid potential injuries.
For instance, never reach over or behind a saw blade while it’s in motion, as this can lead to serious accidents. Always wait for the blade to completely stop before making any adjustments or reaching for pieces near the saw.
Workshop Safety: A Clean and Organized Space
Space matters when it comes to workshop safety. Keep your work area clean and organized to prevent accidents and injuries. Make sure all tools are stored properly when not in use, and that cords are kept out of the way to avoid tripping. By maintaining a tidy workspace, you not only reduce the risk of accidents but also create a more efficient and enjoyable environment for your DIY projects.
Essentials like having a fire extinguisher and a first aid kit easily accessible in your workshop can make a big difference in case of emergencies. It’s always better to be prepared for the unexpected and prioritize safety in all your DIY endeavors.
Troubleshooting Common Saw Issues
After sharpening your saw skills for home renovations, you might encounter some common saw issues that can hinder your progress. It’s important to be familiar with troubleshooting these problems to ensure your projects run smoothly.
Dealing with Kickback: Causes and Prevention
Troubleshooting kickback is crucial for your safety when using a saw. Kickback occurs when the saw blade binds in the wood, causing it to forcefully kick back towards you. To prevent kickback, make sure you’re using a sharp blade and the correct blade for the material you’re cutting. Additionally, always keep the saw blade guard in place and maintain a firm grip on the saw with both hands while cutting.
Fixing Saw Blade Wobble: Balancing Act
To address saw blade wobble, start by checking if the blade is securely fastened and not damaged. If the blade is in good condition, the issue might be with the saw itself. You can try balancing the blade by adjusting its position or replacing it with a new one. Do not forget, a wobbly blade not only affects the quality of your cuts but can also be dangerous to work with.
With saw blade wobble, it’s imperative to address the issue promptly to avoid any accidents or inaccuracies in your cuts. If you’re unsure how to balance the blade, consult the saw’s user manual or seek guidance from a professional.
Overcoming Saw Stalls: Tips for Smooth Operation
With saw stalls, the blade might stop mid-cut, causing frustration and delays in your project. To overcome this issue, ensure you’re using the correct blade for the material and that it’s sharp and clean. Check the saw’s power source to ensure it’s adequate for the task at hand. Additionally, feed the material into the saw at a steady pace to prevent stalling.
- Avoid forcing the blade through the material as this can lead to stalling.
- Keep the saw clean and well-maintained to prevent stalls and ensure optimal performance.
To maximize efficiency and prevent saw stalls, pay attention to how the saw is handling the material and make adjustments as needed. The smoother the operation, the quicker you’ll finish your projects with precision and ease.
Practice Makes Perfect: Exercises for Saw Mastery
Your journey to becoming a saw master starts with practice. The more you work with a saw, the more confident and skilled you’ll become. To help you hone your saw skills, here are some exercises and projects to get you started.
Simple Projects for Building Confidence
Projects such as creating a basic bookshelf, a small planter box, or a simple picture frame are great for beginners. These projects will allow you to practice straight cuts, miter cuts, and basic joinery techniques. Start with inexpensive materials like pine or plywood before moving on to more expensive woods.
Intermediate Projects for Refining Skills
With a solid foundation in basic saw skills, you can tackle more challenging projects like building a coffee table with intricate designs, constructing a storage bench with drawers, or crafting a set of floating shelves. These projects will require precision cutting, careful measurements, and attention to detail to achieve professional-looking results.
Intermediate projects are an excellent way to refine your saw skills and test your creativity. As you work on these projects, focus on improving your accuracy and efficiency with the saw.
Advanced Projects for Showcasing Expertise
- Furniture Pieces: Create a custom dining table with intricate inlays and designs.
- Outdoor Structures: Build a pergola or a deck with precision cuts and complex joinery.
- Cabinetry: Craft high-end kitchen cabinets with seamless joinery and flawless finishes.
Advanced projects are where you can showcase your expertise and mastery of saw skills. These projects require a high level of precision, attention to detail, and advanced techniques to create stunning pieces of furniture or structures.
Final Words
From above expert techniques for sharpening your saw skills to precautions and maintenance tips, you are now equipped to tackle home renovations like a pro. Be mindful of, practice makes perfect, so don’t be afraid to put your new skills to the test. With precision and care, you can confidently take on DIY projects and see your dream home come to life. So grab your saw, put on your safety gear, and get to work!