

Rip cuts are important for breaking down large sheets of material into manageable sizes, while crosscuts are perfect for trimming boards to length. Understanding how to set up your saw for these two types of cuts will maximize efficiency and accuracy in your woodworking projects. Here’s how you can get your saw ready to make perfect cuts every time.
The first step in setting up your saw is to ensure that it is equipped with the proper blade. For rip cuts, you want to use a blade specifically designed for ripping, usually featuring fewer teeth with a flat grind to efficiently cut along the grain of the wood. On the other hand, for crosscuts, a blade with more teeth—often a crosscut blade, which has alternating top bevels—is best, as it will provide cleaner cuts across the grain.
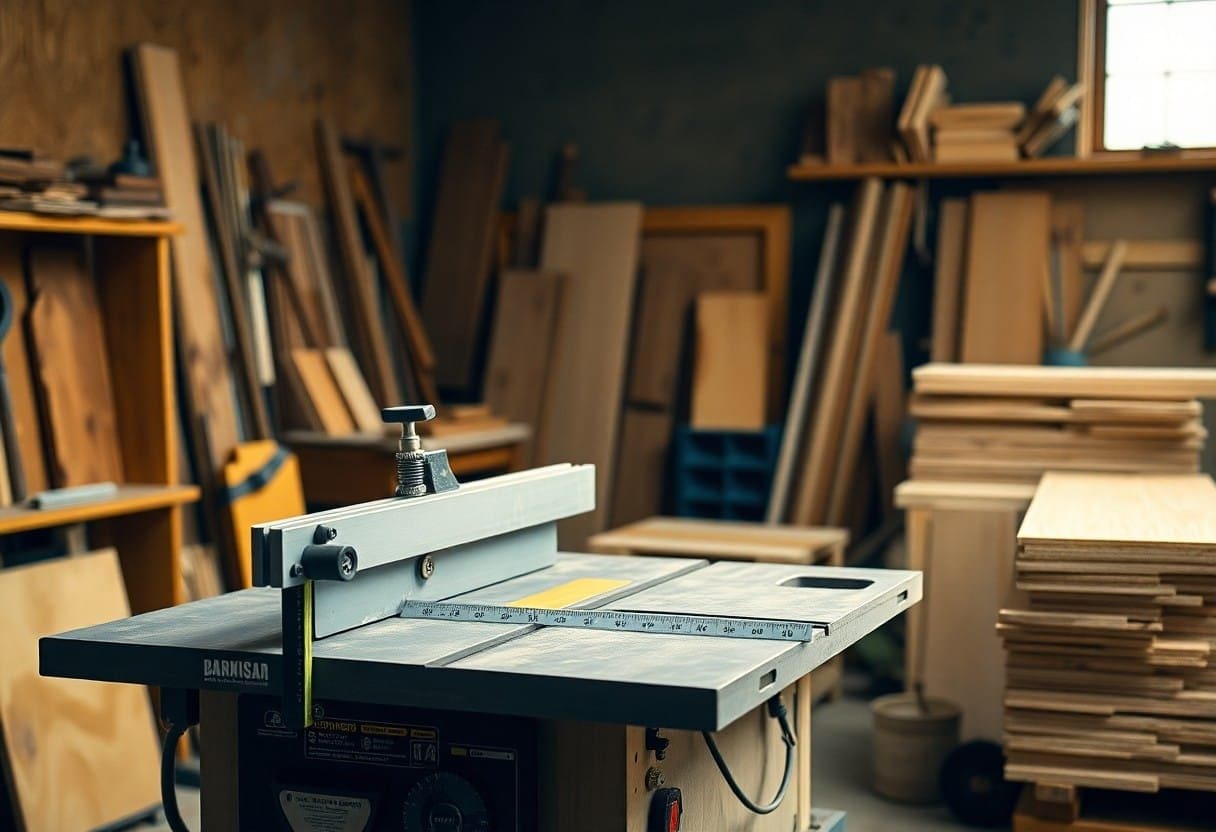
Once you have the right blade installed, it’s time to adjust your saw’s settings. For table saws, you need to set the fence to the desired width for rip cuts. Position the fence parallel to the blade, ensuring that it’s locked in place before you begin your cut. A good practice is to take a measurement from the blade to the fence at both the front and back of the saw. This will help to ensure that the fence remains straight throughout its length.
For crosscuts, you will typically use a miter gauge or a crosscut sled if available. Make sure the miter gauge is slid into the track and set it to the required angle—usually 90 degrees for straight cuts. Verify the angle using a square to ensure that your cuts will be accurate. If you’re using a sled, check that it glides smoothly and is square to the blade.
Next, pay attention to the height of the blade. For both types of cuts, your blade should rise just above the thickness of the material you are cutting—generally no more than 1/8 inch above the stock. This setting reduces the risk of kickback and ensures a cleaner cut. Adjust the blade height following the manufacturer’s guidelines for your specific saw model.
Before starting your cuts, always double-check your setup. For rip cuts, ensure that the stock is securely against the fence and that you have a clear path for passing the material through the blade. When performing crosscuts, hold the stock securely against the miter gauge or sled, and use clamps if necessary to prevent any movement during the cut.
As you begin cutting, use proper safety gear, such as goggles and ear protection. Always keep your hands away from the blade. It’s advisable to use push sticks for rip cuts to help guide the material safely through the saw. For crosscuts, always ensure your material is stable and do not reach over the blade while it’s in motion.
Setting up your saw correctly for rip cuts and crosscuts not only enhances the quality of your work but also ensures your safety. By following these steps, you will be well-equipped to make accurate and efficient cuts in your woodworking projects.


