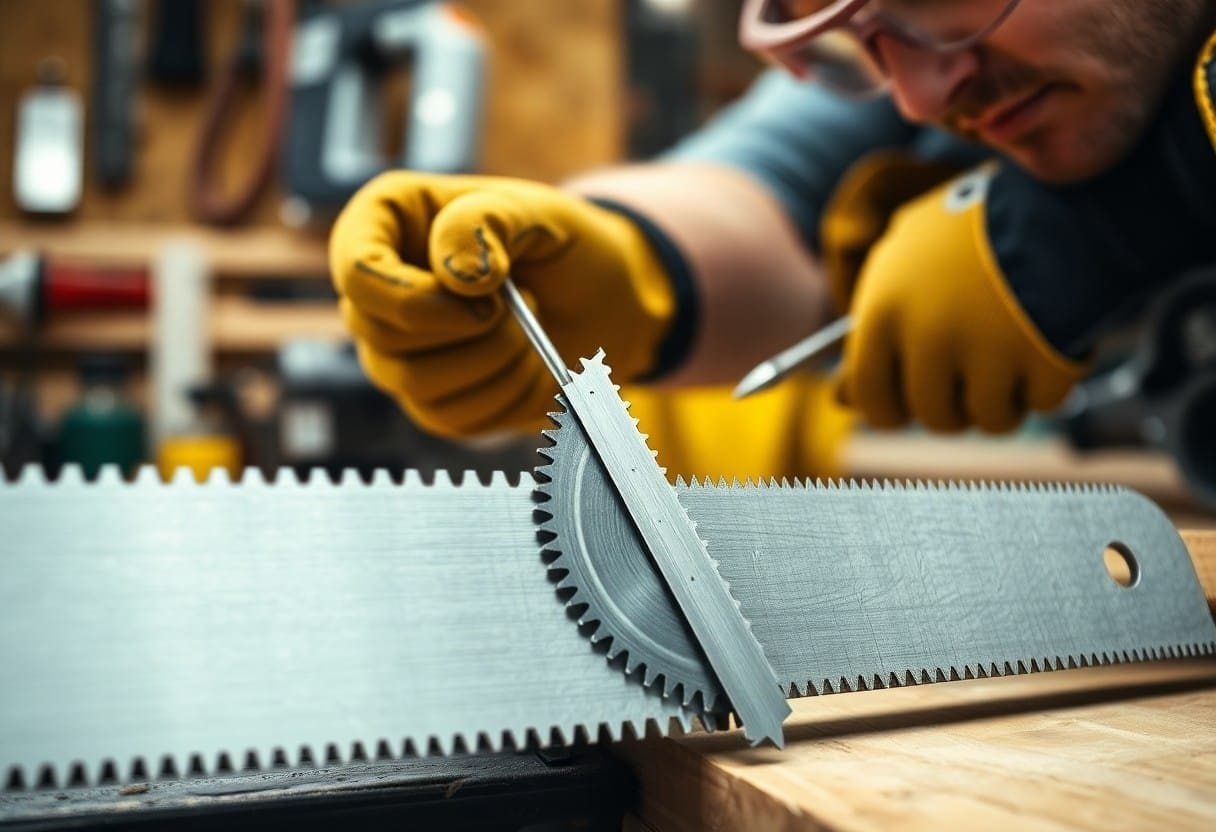
Just follow these easy steps to ensure your new saw blade is installed safely and correctly. Whether you are using a table saw, circular saw, or any other type of saw, the process typically remains similar. This guide will provide you with clear instructions to facilitate the installation of your new blade.
Before you begin, ensure you have gathered all the necessary tools: a wrench or screwdriver, depending on your saw type, and of course, your new saw blade. It’s also a good idea to have your owner’s manual handy for guidance specific to your model.
First, unplug your saw or, if it’s a corded model, remove the battery if it’s cordless. This is a vital safety step that prevents any chances of accidental starts while you are working.
Next, locate the saw blade guard. Most saws have a guard that covers the blade when it is not in use. You may need to tilt or remove the guard to access the blade properly. Follow the manufacturer’s instructions to do this correctly for your specific saw.
Once you can see the blade, you will need to loosen the blade nut or arbor. This nut secures the blade in place and will require a wrench or various other tools based on your saw type. Turn it counterclockwise until it is loose enough to remove. If you have difficulty loosening the nut, apply some penetrating oil and let it sit for a few minutes.
After loosening the nut, you can now gently remove the old saw blade. Be cautious when handling the blade, as it may have sharp edges. Place the old blade aside.
Now, it’s time to take your new blade out of the packaging. Before installation, check the direction of the teeth on the blade. Most saws will have an arrow indicating the correct direction of rotation. Align this arrow with the arrow on the saw’s blade housing to ensure the teeth cut in the right direction.
With the blade positioned correctly, slide it onto the arbor. Make sure it sits snugly against the washer. After placing the blade, now it’s time to reattach the blade nut. Thread the nut onto the arbor and tighten it by turning it clockwise. Ensure it is firmly secured but do not overtighten, as this might damage the blade or the arbor.
Once the nut is securely in place, replace the blade guard according to the manufacturer’s instructions. This may involve simply tilting it back or fastening it in place.
Finally, plug in your saw or reinsert the battery. Before starting your saw for the first time with the new blade, take a moment to inspect the installation. Check that everything is tight and secure. Once satisfied, take the saw for a test run on a scrap piece of wood to ensure the new blade operates smoothly.
Congratulations! You have successfully installed a new saw blade, and you are now ready to tackle your next project with confidence.


