Intuitive understanding of DIY tools is key to successfully tackling home projects. By familiarizing yourself with the important tools at your disposal, you will empower yourself to take on a variety of tasks, from simple repairs to complex renovations. This guide will walk you through the must-have tools for your toolkit, explaining their purposes and best uses, so you can approach any project with confidence and efficiency. Let’s get started on equipping you with the knowledge you need to enhance your home and cultivate your handiwork skills!
Understanding DIY Tools
For anyone venturing into the world of DIY projects, understanding the tools at your disposal is crucial. DIY tools are more than just instruments; they are your partners in creativity and efficiency. Whether you’re looking to craft a simple shelf or tackling a more complex renovation, knowing your tools enables you to choose the right ones for the job. This knowledge not only simplifies the process but also increases the likelihood of a successful outcome, saving you time and frustration.
Importance of Having the Right Tools
Now, when you approach a DIY project, having the right tools can make all the difference. They enhance your performance and ensure that you can execute your vision accurately and safely. Using the appropriate tool for each job reduces the risk of errors, minimizes the chances of damaging materials, and ultimately leads to a more polished final product. When you invest in the right tools, you’re also investing in your confidence as a DIYer, allowing you to tackle increasingly challenging projects with ease.
Moreover, the right tools can significantly affect your efficiency. With the proper equipment, completing tasks requires less physical exertion and results in quicker turnaround times. Rather than fidgeting with makeshift solutions, you can focus on the creativity and satisfaction that comes from building something with your own hands.
Common Misconceptions about DIY Tools
For many beginners, there are several misconceptions about DIY tools that can hinder progress. One of these myths is that you need a vast collection of tools to start any project, which can be intimidating and overwhelming. In reality, having a few high-quality, versatile tools is often more beneficial than an unwieldy collection of specialized ones. Prioritizing quality over quantity allows you to tackle a wider range of tasks effectively.
About these common misconceptions, many believe that DIY tools are strictly for professional craftsmen or those with years of experience. However, DIY tools are designed for everyone, regardless of skill level. With the right guidance, even beginners can learn to use them effectively. Emphasizing hands-on experience and practice can empower you to realize that mastering basic tools is within everyone’s reach, enabling you to launch on your DIY journey with confidence.
Essential Hand Tools
Little do many realize that having the right hand tools can truly make or break your DIY experience. Whether you’re tackling a small home improvement project or a significant renovation, understanding the vital hand tools will equip you for success. These tools not only assist you in completing various tasks but also enhance the quality of your work and your overall efficiency.
Hammer: Choosing the Right Type
There’s a distinct value in choosing the right hammer for your project. Hammers come in various shapes and sizes, each suited for different tasks. A claw hammer is ideal for general use, especially for driving and removing nails, while a sledgehammer is better for construction and demolition tasks. Choosing a hammer with a comfortable grip can prevent hand fatigue and increase your precision as you work.
Screwdrivers: Understanding Different Heads
While you may think all screwdrivers are the same, understanding the different heads can dramatically affect your efficiency. There are standard flathead screwdrivers and Phillips screwdrivers that cater to different screw types. Additionally, there are specialty screwdrivers, like Torx and hex, that may be necessary for unique applications. Having a variety of screwdriver heads on hand can save you time and prevent damaging screws.
It’s vital to ensure you select the right screwdriver for the job. Using the wrong type of head can strip the screw or damage the surface you’re working on, leading to frustration and wasted effort.
Pliers: Types and Their Uses
There are various types of pliers available, each designed for specific tasks. Whether you’re gripping, twisting, or cutting, ensuring you have the appropriate pliers can make your job much easier. Common types include needle-nose pliers for precision work, slip-joint pliers for varying grip sizes, and wire cutters specifically designed for cutting through various materials. The following table outlines key pliers and their primary uses:
| Pliers Type | Primary Use |
| Needle-nose Pliers | For precision work in tight spaces |
| Slip-joint Pliers | For gripping and turning various sizes |
| Wire Cutters | For cutting wires and electrical components |
| Coping Pliers | For holding objects securely |
| Locking Pliers | For vice-like gripping power |
Thou should be diligent in selecting the right style for your needs. Don’t forget to consider ergonomics, as pliers that fit well in your hand will make your projects much more manageable.
Hand tools are your best friends when it comes to ensuring precise work. Measuring tools, such as tape measures and levels, are vital for accurate dimensions and alignment in your projects. Employing these tools will not only help you avoid costly errors but will also yield professional-looking results. Remember that investing a little extra time into accurate measurements will save you from frustration down the line.
Measuring Tools: Accuracy is Key
While it may seem straightforward, using measuring tools correctly is crucial for successful DIY projects. A quality tape measure is a must-have for measuring lengths, widths, and heights, while a level ensures your setups are aligned and straight. Combining these tools can provide a solid foundation for precise cutting and assembly.
Plus, don’t underestimate the importance of a square or a measuring wheel for more specialized needs. Having a variety of measuring tools at your disposal will help you avoid miscalculations and ensure the overall quality of your work.
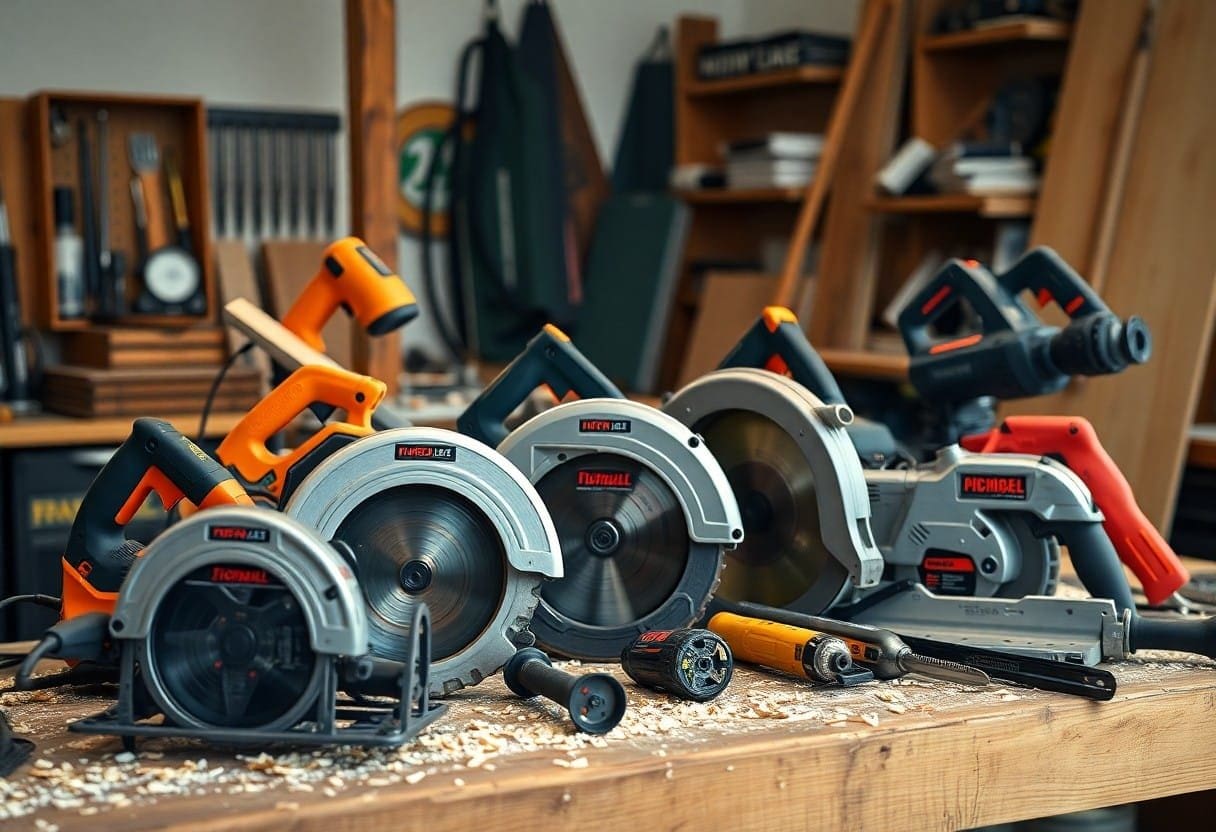
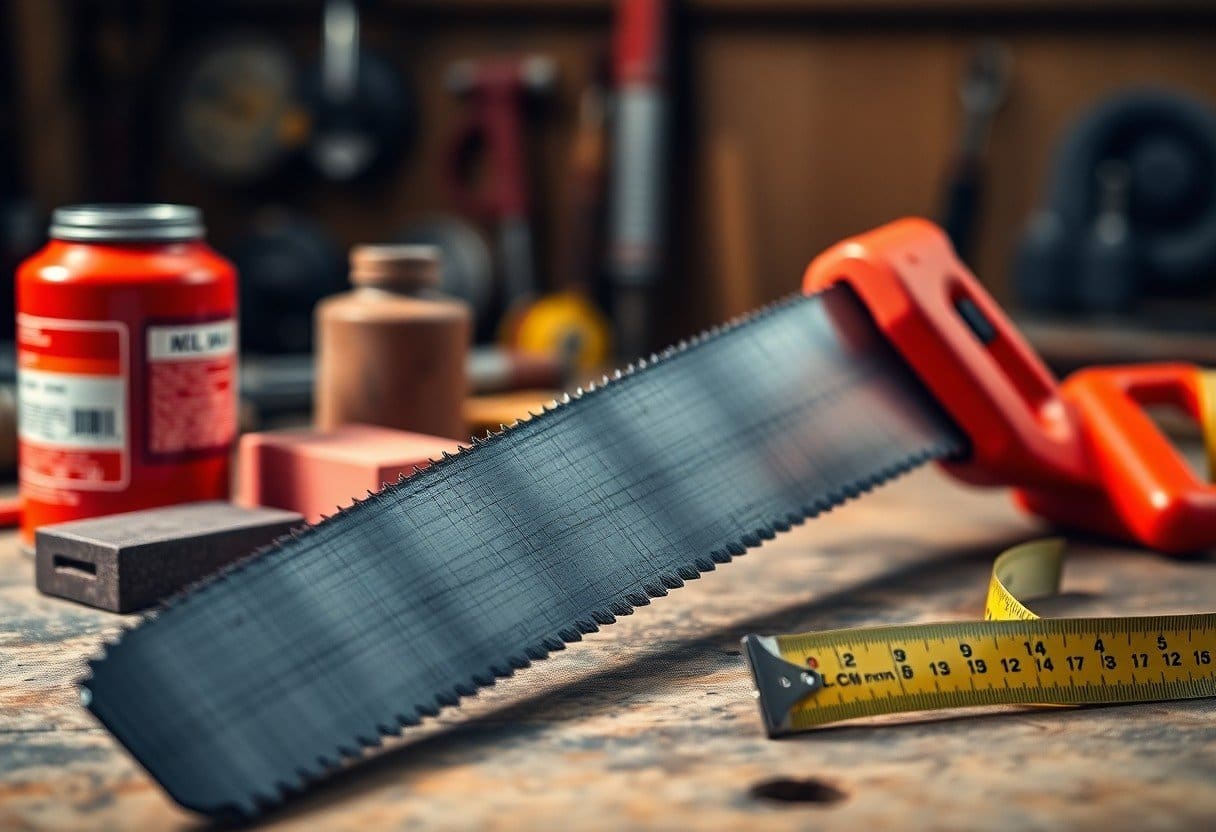
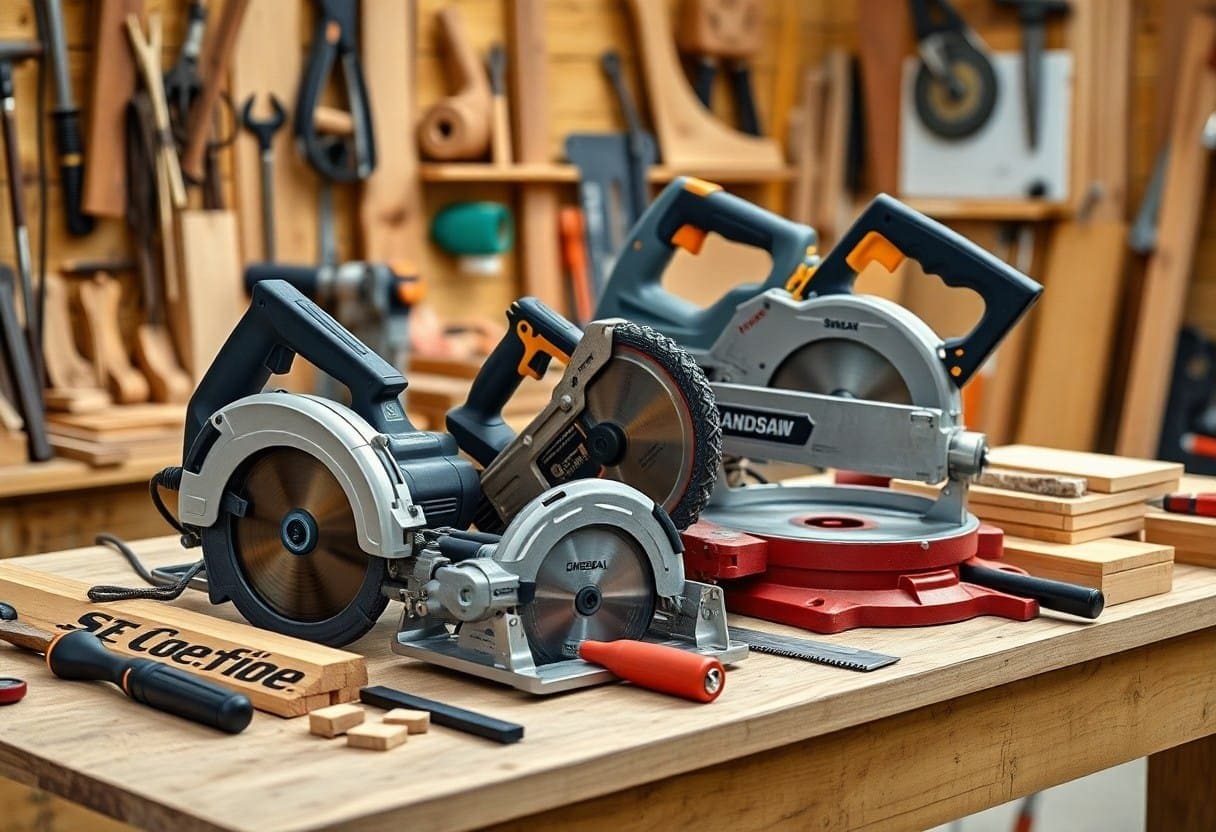
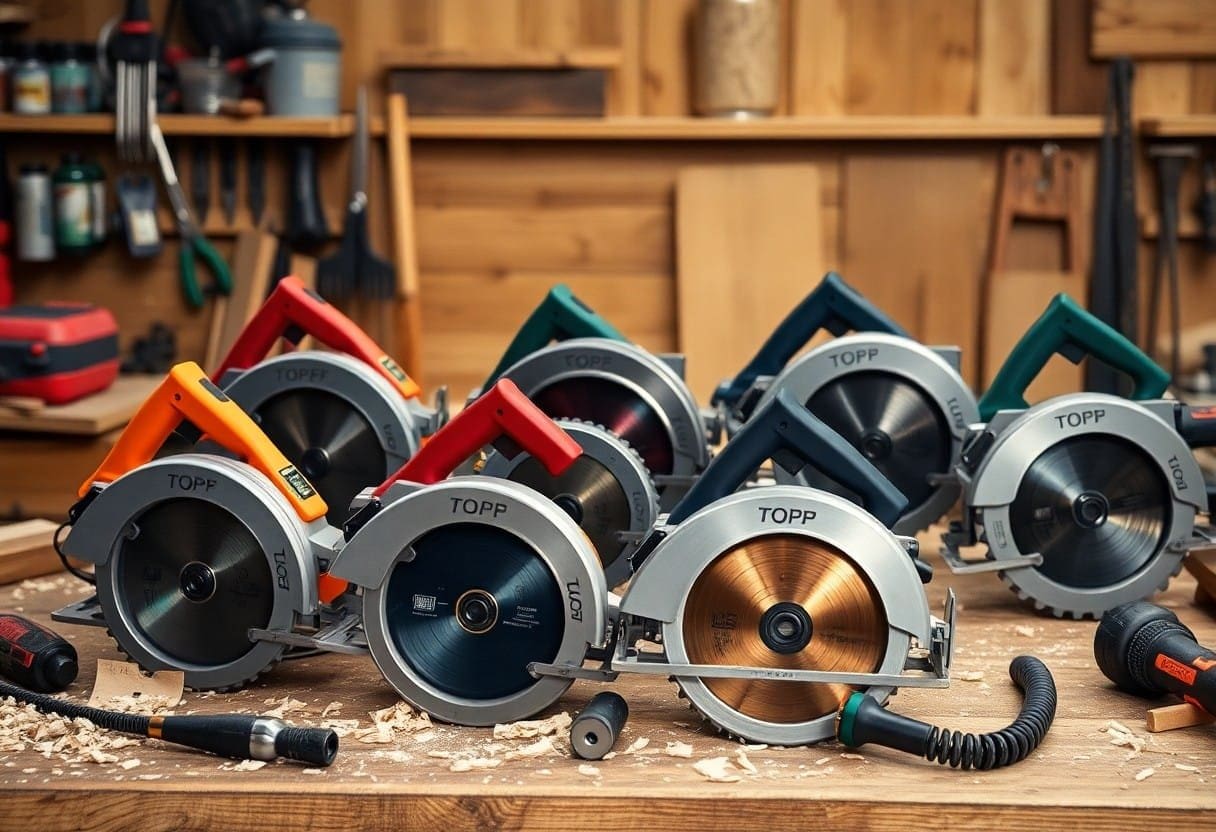
Saws: Selecting the Right One for Your Project
Project outcomes heavily depend on selecting the appropriate saw for your needs. For straight cuts, a handsaw or circular saw might be your go-to options, while a jigsaw is ideal for curves and intricate shapes. Understanding the different types of saw blades and their purposes can significantly affect your project efficiency and finish quality.
Type matters when choosing a saw, as each one is designed to serve specific cutting tasks. For instance, a miter saw is excellent for making precise crosscuts and angled cuts, while a hacksaw is preferable for metalwork. Knowing the variety of available saws empowers you to choose wisely based on your project’s requirements.
Essential Power Tools
All DIY enthusiasts need a reliable set of power tools to tackle home projects efficiently and effectively. These tools not only make tasks quicker but also improve the quality of your work. As you probe into home improvements, understanding the necessary power tools available will help you make informed decisions on which ones to invest in.
Drills: Corded vs. Cordless
Cordless drills offer exceptional convenience and portability, making them a popular choice for many DIYers. You can use them virtually anywhere without the hassle of locating a power outlet, which is particularly useful for outdoor projects or in rooms without readily available power. Most cordless models come with rechargeable batteries that provide ample drilling power for various tasks.
On the other hand, corded drills generally boast greater power and continuous runtime since they are plugged directly into an electrical outlet. This makes them ideal for heavy-duty jobs where prolonged use is required, as you won’t run into battery life limitations. Ultimately, the choice between corded and cordless drills comes down to your specific needs and the nature of your projects.
Saws: Circular vs. Jigsaw
Corded saws, such as circular saws, are favored for their power and efficiency when cutting through thicker materials like wood and plywood. If you are looking to make straight, long cuts with precision, a circular saw is likely your best choice. Jigsaws, which are typically cordless, excel in creating curved or intricate shapes and can handle thinner materials with ease. They each serve distinct purposes, with the circular saw being the go-to for larger cuts and the jigsaw shining in detailed work.
It’s crucial to understand the differences between these two saw types to choose the best one for your projects. Circular saws are great for cutting long sheets of material or lumber, while jigsaws can navigate curves and angles, enabling you to design more creatively.
Sanders: Types and Their Applications
Some popular types of sanders include belt sanders, orbital sanders, and detail sanders. Each type serves a different purpose and is suited for various projects. Belt sanders are designed for rapid material removal, making them ideal for large, flat surfaces, while orbital sanders provide a smoother finish on finer projects. Detail sanders are perfect for reaching tight spaces and intricate designs, allowing for precision work.
| Sander Type | Applications |
|---|---|
| Belt Sander | Removing heavy material from large surfaces |
| Orbital Sander | Smoothing and finishing surfaces |
| Detail Sander | Finishing intricate or detailed areas |
| Random Orbital Sander | Versatile for various sanding tasks |
| Disc Sander | Sharpening and shaping wood edges |
After understanding the applications of each sander type, you can select the right tool for your specific project needs. Whether you’re refinishing furniture or preparing a surface for painting, using the appropriate sander can enhance the quality of your work.
Nail Guns: How to Choose the Right One
While choosing a nail gun, consider the type of projects you will be undertaking. There are different types of nail guns, including brad nailers, finish nailers, and framing nailers. Each type is designed for specific tasks and works with different nail lengths and gauges. If you plan on working on detailed trim work, a brad nailer may suffice, while larger projects involving framing might require a framing nailer for increased power.
Circular nail guns also have different power sources such as pneumatic, electric, or battery-operated. Pneumatic nailers typically offer superior power but require a compressor, while electric and battery-operated models provide convenience without the need for additional equipment. Considering your specific requirements will help you choose the best nail gun for your DIY projects.
Safety Precautions
Your safety should always be your top priority when engaging in any DIY projects around the home. Utilizing the right techniques and equipment not only minimizes risks but also boosts your confidence as you navigate through each task. The following safety precautions will help you create a secure working environment while ensuring that your projects are completed without unnecessary hazards.
Personal Protective Equipment (PPE)
Now, let’s probe into Personal Protective Equipment (PPE), which is crucial for safeguarding yourself during home improvement projects. Always wear safety goggles to protect your eyes from debris, dust, and flying particles. A dust mask or respirator is advisable when working with materials that generate harmful dust, such as wood or drywall. Additionally, investing in a pair of sturdy work gloves can prevent cuts and scrapes while handling tools and heavy objects.
Don’t forget about your feet; wearing appropriate footwear, such as steel-toed boots, will shield your toes from dropped items and provide better traction on slippery surfaces. Depending on the specific tasks at hand, you may also want to consider ear protection when using loud tools, as prolonged exposure can lead to hearing loss. By equipping yourself with the right PPE, you’re not only taking a proactive approach to safety, but you’re also ensuring a more efficient workflow.
Proper Tool Handling Techniques
Even with the best tools, improper handling can lead to injuries or damages. It’s necessary to familiarize yourself with each tool’s specific function and recommended operating procedures. Always keep your workspace organized and clutter-free, as a chaotic environment can lead to accidents. Use tools for their intended purpose only; for example, never use a wrench as a hammer, as this could lead to tool failure and personal injury.
Protective handling techniques also involve maintaining a solid grip on your tools and using the right posture while working. Always use two hands when necessary—one for the tool and the other for stabilizing your body or the material you’re working on. Being mindful of your stance and body positioning will help maintain balance and control, mitigating the risk of accidents.
Understanding Electrical Safety
There’s a world of risk involved when dealing with electricity; therefore, understanding electrical safety is paramount. First and foremost, always ensure that you turn off the power at the circuit breaker before beginning any electrical work. Use a voltage tester to confirm that the wires you’re about to work on are free from live current, as this can prevent potentially fatal accidents. Additionally, never overload outlets or use damaged cords, as these practices can lead to electrical fires or other serious hazards.
For instance, always utilize tools and equipment that are specifically rated for electrical work to ensure they are safe and reliable. Choose insulated tools when working near live electrical components, and consider having a buddy system in place when tackling more complex projects. An extra set of eyes can help to ensure work is performed correctly and safely. By committing to electrical safety protocols, you can navigate your DIY projects with greater assurance and peace of mind.
Maintenance and Care for Tools
Many DIY enthusiasts often overlook the importance of maintaining their tools. However, proper care not only enhances the performance of your tools but also extends their lifespan. By dedicating some time to regular maintenance, you ensure that your investments continue to serve you well over the years, making your home projects easier and more enjoyable.
Cleaning Tools After Use
There’s no getting around it—cleaning your tools after each use is one of the most critical maintenance steps you can take. Whether you’re working with power tools or hand tools, grime, dust, and debris can accumulate and lead to potential damage or inefficient operation. A simple wipe down with a cloth or the use of a brush for larger particles can go a long way in keeping your tools in top shape.
Additionally, pay special attention to any moving parts or gears that may require lubrication. For tools made with metal components, applying a rust protectant can help prevent corrosion, especially if you often work with moisture-prone materials. Regular cleaning not only maintains functionality but also minimizes the risk of injury caused by malfunctioning tools.
Regular Maintenance Tips
An necessary part of maintaining your tools is to perform regular check-ups to avoid surprises when you need them the most. Here are some reliable tips to incorporate into your routine:
- Inspect tools for any loose components or signs of wear and tear.
- Sharpen blades and bits to ensure optimum cutting performance.
- Calibrate measuring and leveling tools to maintain accuracy.
- Recharge batteries of power tools and replace worn-out batteries when needed.
- Store tools properly after each use to prevent damage.
Knowing these maintenance practices can save you both time and money in the long run, helping you avoid costly repairs or replacements.
Plus, routine maintenance not only enhances the safety and efficiency of your tools but also fosters a habit of responsibility in your DIY projects. Taking the time to attend to these details gives you peace of mind and makes every project smoother. Simple tasks like cleaning and inspecting your tools can have a significant impact on their functionality.
- Keep a checklist of maintenance activities to stay organized.
- Set reminders to regulate maintenance frequency based on usage.
- Engage in tool maintenance as part of your project routine.
- Utilize spare time between projects to carry out regular checks.
Knowing how to keep your tools well-maintained means you will always be ready for your next home project.
Storage Solutions for Longevity
To protect your tools and ensure they last as long as possible, proper storage is necessary. An ideal storage solution will keep your tools organized, safe from potential damage, and easily accessible. Whether you have a dedicated workshop or a simple shed, consider investing in racks, cabinets, or pegboards tailored to fit your tools and your space.
Additionally, investing in toolboxes or cases that include compartments can further protect delicate instruments and prevent them from scratching or damaging each other. Keep in mind that tools should be stored in a dry environment to minimize issues with rust and damage from humidity. Implementing proper storage habits not only supports longevity but also significantly improves your workflow during projects.
Another important consideration is the climate in which your tools are stored. Tools exposed to extreme temperatures or moisture can deteriorate quickly. Ensure your storage area is well-ventilated, and if possible, climate-controlled. Regularly check on your tools to ensure they are free from moisture and clean from any grime. This proactive approach will secure their functionality and effectiveness, allowing you to tackle any DIY project confidently.
Tips and Tricks for Efficient DIY Projects
Unlike what many believe, DIY projects don’t have to be overwhelming or chaotic. By incorporating a few strategic tips and tricks, you can streamline your process and achieve stellar results. Here are some vital practices to keep in mind:
- Make a detailed project plan before starting.
- Gather all necessary tools and materials in one place.
- Break down the project into manageable steps.
- Set a timer to keep yourself focused and on track.
- Don’t be afraid to ask for help when needed.
Thou will find that these straightforward principles can be applied to any DIY endeavor, ensuring not only efficiency but also enjoyment throughout the process.
Planning Your Project
The foundation of any successful DIY project lies in thorough planning. Before you get started, take the time to clearly define your goals and objectives. Ask yourself what you hope to achieve and the specific steps you’ll need to take to get there. By outlining your vision, you can avoid common pitfalls and ensure that your project progresses smoothly.
Additionally, consider the time and resources required for each stage of the project. Factor in preparation, execution, and cleanup time, and make sure to account for potential delays. This foresight can help you stay organized and minimize frustrations as you work.
Organizing Your Workspace
You can’t underestimate the importance of a well-organized workspace. Having your tools and materials neatly arranged can make all the difference in your efficiency and focus. Set aside specific areas for different tasks, and ensure that all necessary items are within arm’s reach before you begin. This organization will help reduce distractions and speed up your progress.
Moreover, take a moment to declutter your workspace before starting any project. A clean area allows for better concentration and enhances your creativity. You may even consider using storage solutions like bins or pegboards to categorize your tools and materials. Being able to pull out exactly what you need without sifting through chaos is vital for staying in the creative zone.
To maintain this organized system throughout your project, make it a habit to tidy up as you go. This can prevent the overwhelming mess that often accumulates and ensures that you remain focused on the task at hand.
Knowing When to Seek Professional Help
You should always be aware of your limits when tackling a DIY project. While it’s admirable to try and take on new challenges, there are situations where enlisting the help of a professional is the best course of action. If a project feels beyond your capabilities, don’t hesitate to reach out for expert advice or assistance. Recognizing when to call in a pro can save you time, resources, and potential frustration.
Additionally, consider the safety implications of a project. If you’re dealing with electrical wiring, plumbing, or structural work, the consequences of mistakes can be significant. Understanding the boundaries of your expertise is key to executing a successful and safe DIY endeavor.
Workspace environments can sometimes mask the need for professional intervention. If your project involves hazardous materials or requires specialized skills, it’s wise to pause and reassess your capacity to handle the situation. Trust your instincts; if you feel unsafe or uneasy, remember that some tasks are best left to trained professionals.
Final Words
Drawing together the fundamental aspects of vital DIY tools for your home projects, it’s crucial to recognize that equipping yourself with knowledge is just as important as having the right tools. Whether you are tackling simple repairs or commenceing on larger renovations, your familiarity with each tool can significantly enhance your efficiency and confidence. You now possess a foundational understanding of what tools are indispensable for various tasks, how to handle them safely, and the maintenance required to keep them in prime condition. This knowledge empowers you to approach any project with assurance, knowing that you can effectively address the challenges that lie ahead.
Embracing a hands-on approach to home improvement not only enhances your living space but also cultivates a sense of empowerment and accomplishment. Your journey into the world of DIY will be enriched by the ability to make informed decisions about the tools you choose and how you deploy them. As you integrate these vital tools into your routine, remember that practice is key. With each project, you’ll continue to sharpen your skills and grow your expertise, ultimately transforming not just your home, but your approach to tackling challenges. You are now equipped to create, repair, and innovate in a way that reflects your unique style and needs.