

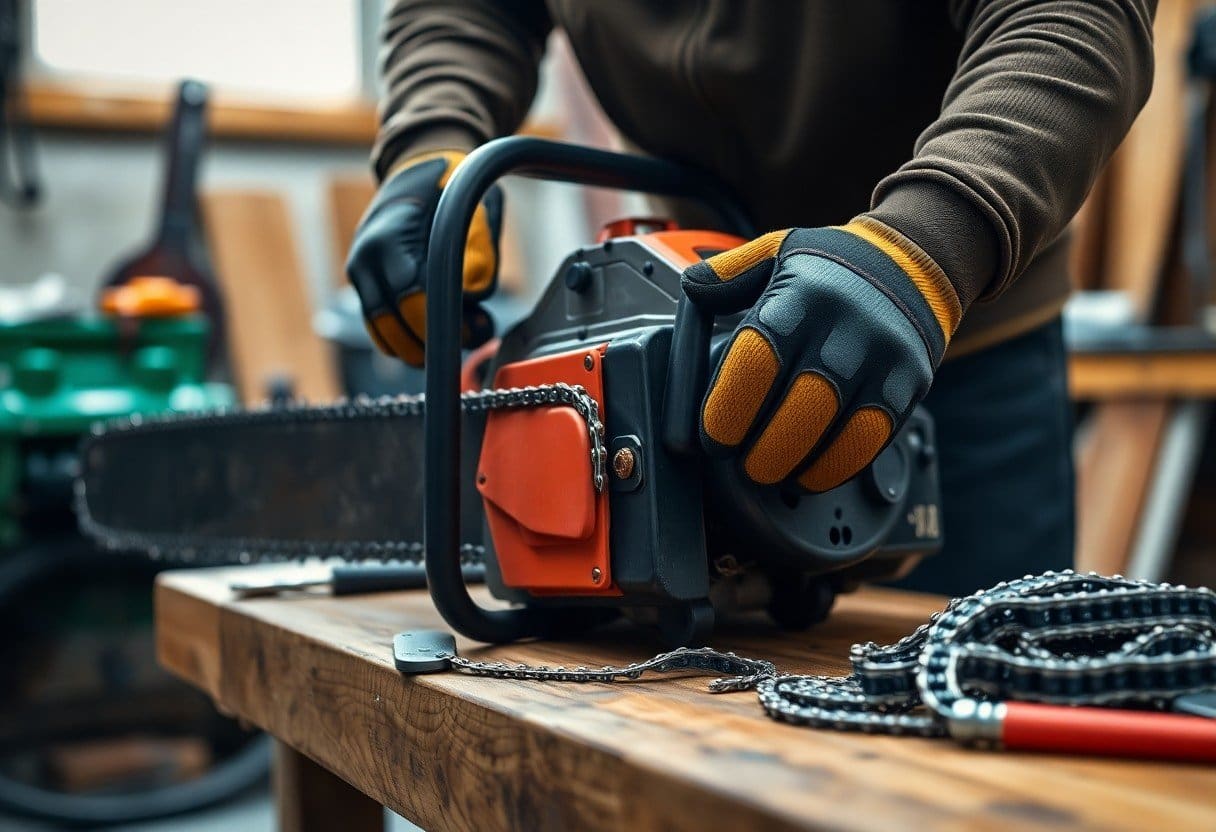
You can easily replace a chainsaw chain at home without needing professional help. This guide will take you step-by-step through the process, ensuring your chainsaw remains functional and safe to use. To begin, ensure you have the right tools and replacement chain on hand.
First, gather the necessary tools. You will need a replacement chain compatible with your chainsaw model, a wrench or screwdriver (depending on your chainsaw style), and protective gloves to keep your hands safe during the replacement. It’s also a good idea to have eye protection handy to guard against flying debris while you work.
Next, ensure your chainsaw is powered off and appropriately disconnected from any power source. If you are using a gas chainsaw, remove the spark plug to prevent accidental starting. For electric models, unplug the tool. This safety precaution is vital, allowing you to work without the risk of injury.
Now that your chainsaw is secure, locate the chain tensioning mechanism. This is typically found on the side of the chainsaw. For most models, loosening the tension on the chain is necessary before you can remove it. Use your wrench or screwdriver to turn the tensioning screw counterclockwise. You’ll feel the chain loosen as this process continues. Once the chain is adequately loose, you can now remove the old chain.
To detach the chain, you will need to unfasten the guide bar. There are usually two bolts holding the guide bar in place, which you can loosen with your wrench or screwdriver. Take care to keep these bolts in a safe spot, as you’ll need them to reattach the guide bar later.
With the bolts loosened, slide the guide bar away from the chainsaw’s body and remove the old chain from the bar and drive sprocket. Dispose of the old chain responsibly, as sharp edges can pose a hazard if not handled properly.
It’s time to install the new chain. Start by placing the new chain around the drive sprocket. Be sure to follow the direction of the cutting teeth—generally, the teeth should face forward to ensure proper cutting action. Once the chain is in place, slide the guide bar back onto the chainsaw body. Align the holes in the guide bar with the mounting holes, making it ready for the bolts.
Now that your guide bar and chain are properly aligned, replace the two bolts and tighten them securely. Be careful not to over-tighten, as this can damage the guide bar or bolts.
Finally, adjust the chain tension. Use the tensioning screw to set the chain so that it has only a small amount of slack when pulled away from the guide bar. This tension ensures the chain works effectively while you operate the chainsaw.
With everything in place, check the operation of your chainsaw. Turn it on and allow it to run for a moment to ensure everything is functioning correctly. If all goes well, you’re now ready to tackle your cutting tasks with a brand-new chain!


