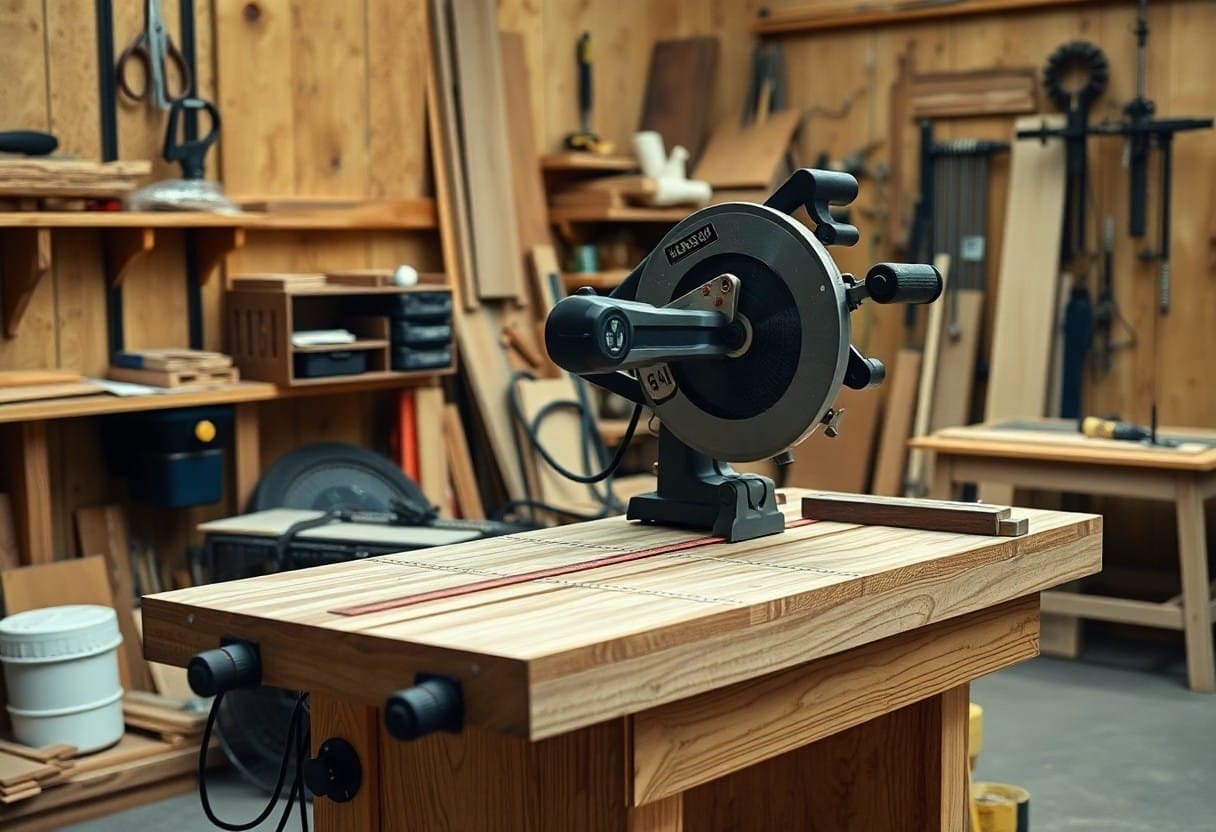
Many woodworkers find that having a dedicated saw station can significantly enhance their workflow and improve the accuracy of their cuts. Building a saw station in your workshop can be a rewarding project that offers you a stable, organized space for your saw and related tools. This guide will walk you through the steps to create a functional and efficient saw station that suits your needs.
To begin, gather the materials and tools you will need for this project. You will need a sturdy workbench or tabletop, plywood sheets (for surfaces and shelves), 2×4 lumber (for framing), screws, wood glue, brackets, and your saw of choice. For tools, ensure you have a circular saw, drill, measuring tape, level, and a miter saw on hand, as they will help you with cutting and assembly.
The first step in building your saw station is to determine the layout. You should consider where your saw will reside, how much space you will need for cross-cutting, and if you want additional storage for saw blades, tools, or wood pieces. A standard height for a saw station is typically around 36 inches, which allows for a comfortable working position while using your saw.
Once you have your layout planned, cut your 2×4 lumber to size. Construct a rectangular frame that will serve as the base of your saw station. Use screws and wood glue to create a stable foundation. Depending on your design, you may want to include bracing for added stability. After framing the base, attach the plywood sheets or workbench top to the frame, ensuring it is securely fastened and level.
Next, it is time to install your saw. Position it in a way that provides enough space for your material to be fed through. Make sure the saw is flush with the tabletop to allow for smooth cuts. You may need to cut a hole in the surface for the saw blade to extend through safely, ensuring the edges are finished to prevent any snags during operation.
If your station includes storage, incorporate shelves or drawers beneath the work surface. The added storage will help you keep your workshop organized and your tools accessible. Consider attaching pegboards or magnetic strips to the sides of your saw station for hanging tools and other accessories, enhancing both functionality and convenience.
Finally, sand down any rough edges and apply a protective finish to your saw station. This will extend the life of the wood and keep your workspace looking clean. Position your saw station in your workshop and take a moment to test functionality by performing a few practice cuts. Adjust any components as needed to ensure optimal performance.
By following these steps, you will create a custom saw station tailored to your specific needs. Having a dedicated workspace for your saw can improve not only your efficiency but also the enjoyment you feel while working on your woodworking projects. Happy building!


