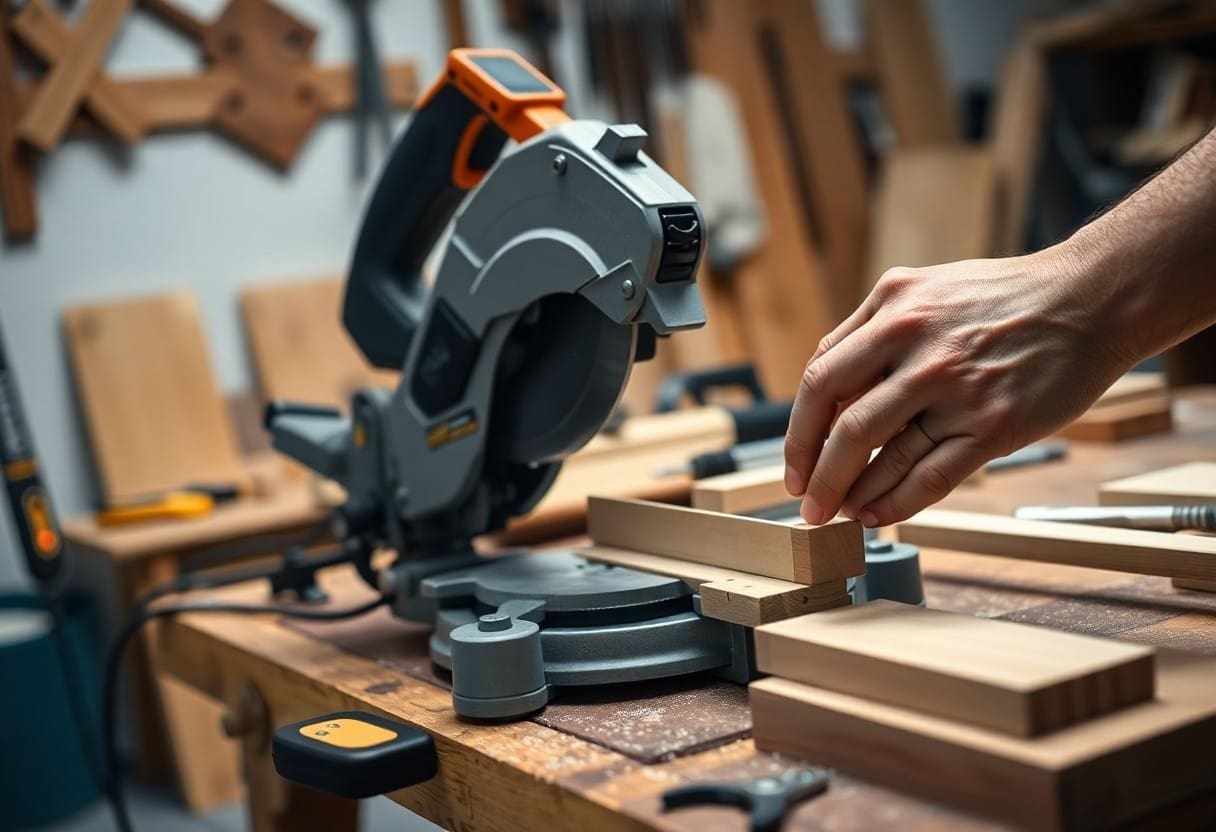
This guide will help you improve your accuracy when using a miter saw. A miter saw is a powerful tool that can deliver precise cuts for various woodworking projects. By following the steps and tips outlined below, you can enhance your skills and achieve clean and accurate cuts every time.
First, ensure you have a suitable workspace. A clean, well-lit area is crucial for achieving precise cuts. Set up your miter saw on a stable surface like a workbench or a sturdy table. Make sure that it has enough space around it to accommodate the length of the material you’re cutting.
Before you begin cutting, check the blade of your miter saw. Make sure it’s sharp and free of any debris. A dull blade can cause splintering and uneven cuts, so replacing or sharpening the blade regularly is key to maintaining accuracy. Familiarize yourself with the type of blade that best suits your material. For example, a fine-toothed blade is better for plywood, while a general-purpose blade is great for framing lumber.
Next, prepare your material by measuring it carefully. Use a measuring tape for accuracy and mark your cut line clearly with a pencil. While measuring, be sure to account for the width of the blade, as this can affect the final length of your cut. You can also use a square to draw straight lines, especially on larger pieces.
When positioning your material on the saw, use the fence as a guide. Align the marked cut line with the blade to ensure you make an accurate cut. Always hold your material securely against the fence to prevent any movement during cutting. If you’re working with larger pieces, consider using clamps to hold them in place.
Set the miter angle for the type of cut you’re making. For most standard cuts, a 90-degree angle is ideal. However, if you’re creating bevels or other angles, adjust the miter saw’s angle accordingly. Make sure to double-check your settings before cutting. Some miter saws feature a detent system that can help lock angles into place, adding to your accuracy.
When you’re ready to cut, turn on the saw and allow it to reach full speed before making contact with the material. This helps produce cleaner cuts. As you lower the blade, apply steady pressure and let the saw do the work; avoiding excessive force can yield smoother results.
After completing your cut, turn off the saw and wait for the blade to stop spinning before handling your material. This ensures safety and minimizes the risk of injury. Inspect your cut to assess the accuracy, making note of any adjustments you might need for future cuts.
Lastly, practice regularly to gain confidence with your miter saw. The more you use it, the better your cuts will become. Adjusting your technique based on the material and type of cuts needed will contribute to your growth as a woodworker.
By following these tips, you will improve your ability to make accurate cuts with a miter saw, enhancing the quality of your woodworking projects.


